Gardeners worldwide can vouch for the unparalleled joy that seedlings bring. Watching a tiny sprout emerge from the soil, stretching its fragile greenery towards the sky, is a sight to behold. Yet, one crucial step in ensuring the healthy growth of these delights is often fraught with challenges: transplanting seedlings. In this guide, I will take you through the steps to successfully transplant your seedlings, ensuring they continue to thrive and eventually blossom into mature plants.
Why Transplant Seedlings?
Before delving into the how-tos, it’s important to understand the why. Transplanting seedlings provides them with more generous space, richer soil, and allows gardeners more control over their growing conditions. When seedlings outgrow their initial pots or seed trays, crowding can lead to restricted growth and nutrient competition. Transplanting is about providing each plant with the room and resources it requires to thrive.
Preparing for Transplanting
1. Know the Right Time
Timing is crucial. Seedlings are ready for transplanting when they develop two to four true leaves. These leaves are different from the initial seed leaves (cotyledons) that first appear. They look more like miniature versions of the adult leaves. Timing also depends on the plant type and environmental conditions, so always research the specific needs of your plants.
2. Acclimate Your Seedlings
Acclimation, known as ‘hardening off,’ is an essential step before transplanting your seedlings outdoors. Start by placing them outside for a few hours each day, gradually increasing the duration over a week or two. Begin in a shaded area and slowly expose them to more sunlight. This process helps seedlings adjust to external conditions such as direct sunlight, wind, and fluctuating temperatures.
3. Prepare the New Location
Whether you’re moving seedlings to larger pots or an outdoor garden bed, preparation is key. Ensure the soil in the new location is rich in organic matter, well-draining, and moist. If transplanting outdoors, consider adding a layer of compost or aged manure to enrich the soil. Rake the area and remove any weeds to minimize competition for nutrients.
The Transplanting Process
1. Handle with Care
Seedlings are delicate, and rough handling can damage their fragile roots. When removing them from their original container, handle the seedlings by their leaves instead of their stems. The stems are still developing and can easily break. Use a small tool, like a spoon or a dibber, to gently ease the seedlings out, keeping the root ball intact.
2. Planting Depth
For most seedlings, plant them at the same depth they were growing in their initial container. However, there are exceptions, such as tomatoes. These can be buried deeper so that more roots develop along the stem, offering a sturdier plant.
3. Space Them Out
Refer to seed packets or gardening guides for recommended spacing between plants. Adequate spacing prevents overcrowding and ensures that all plants have access to necessary sunlight and nutrients. Give your plants room to grow and expand.
4. Water Thoroughly
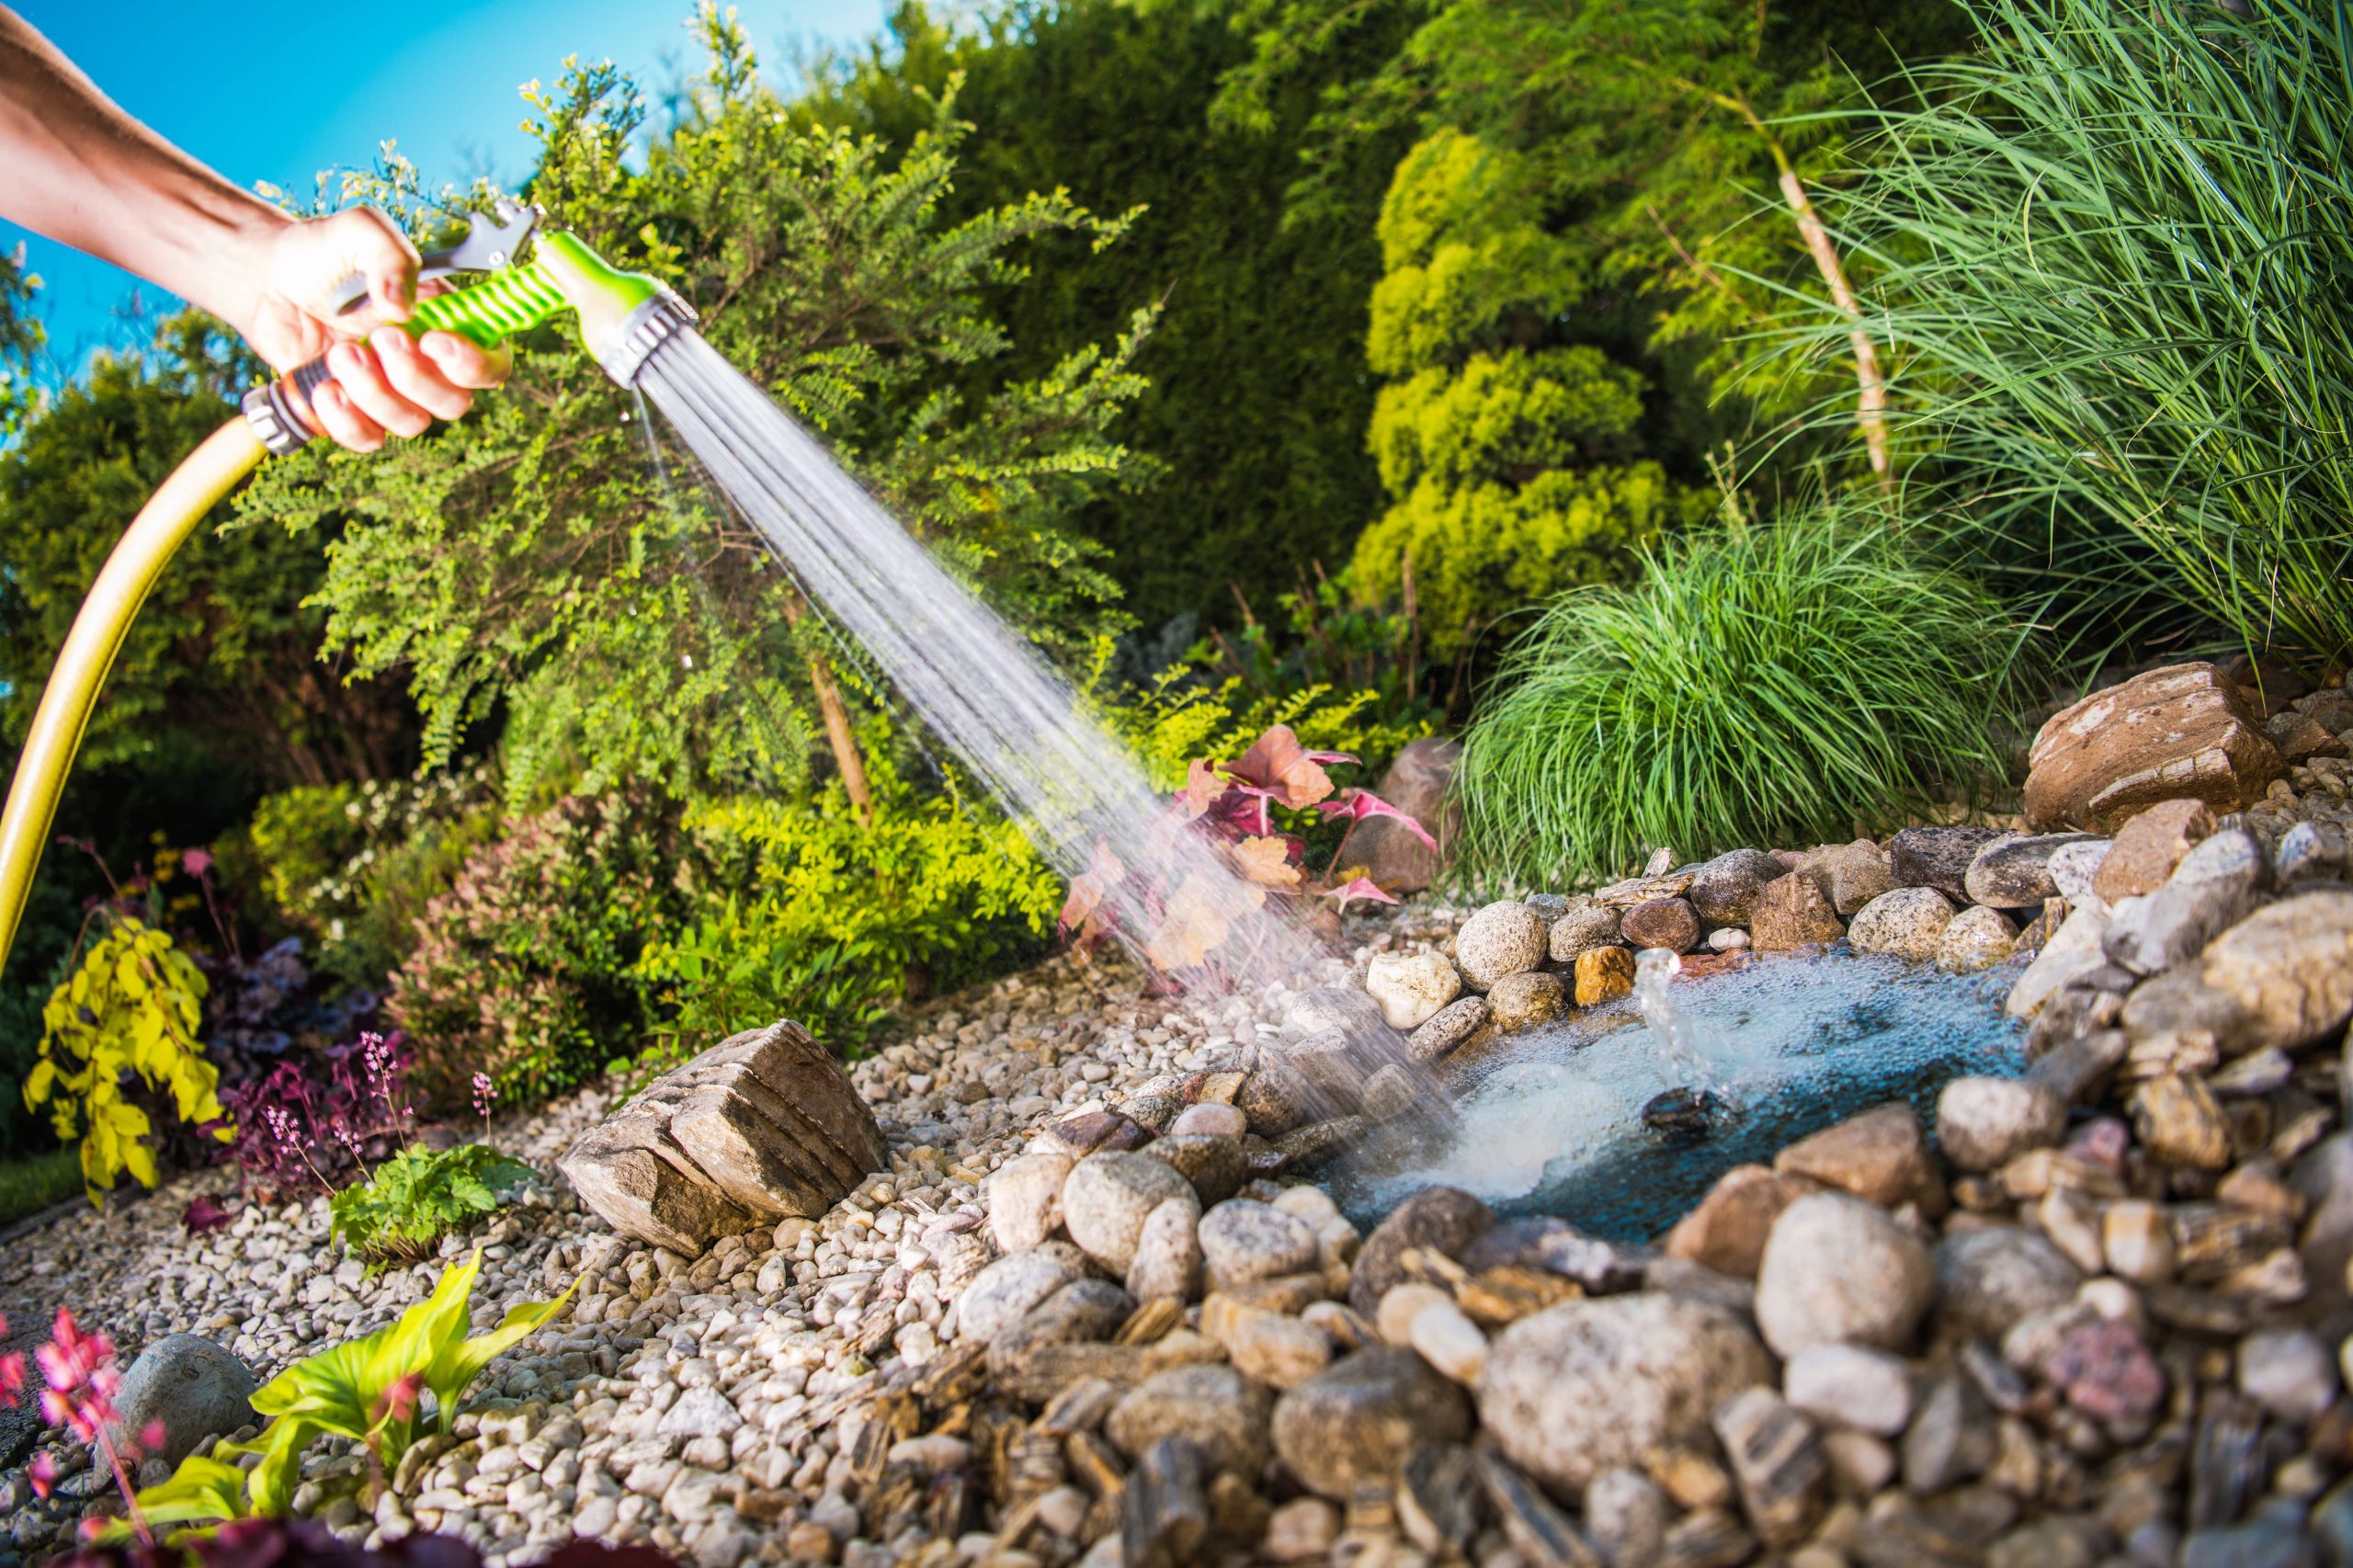
Water your seedlings immediately after transplanting. This helps settle the soil around the roots and minimizes transplant shock. A gentle spray or a watering can with a fine rose is ideal to prevent the soil from becoming too compacted.
Post-Transplant Care
1. Monitor Moisture Levels
Keep the soil consistently moist for the first few weeks after transplanting. However, avoid over-watering, as this can lead to root rot. The top inch of soil should be dried between waterings.
2. Mulch for Protection
Applying a layer of mulch around the base of your seedlings can help retain moisture, suppress weeds, and maintain consistent soil temperature. Organic mulches such as straw, grass clippings, or shredded leaves work well.
3. Fertilize Wisely
After a few weeks, consider applying a balanced fertilizer to support your growing seedlings. Many gardeners opt for a diluted fish emulsion or a liquid seaweed fertilizer. Be cautious not to over-fertilize, as this can damage the plants.
4. Watch for Pests and Diseases
Transplanted seedlings can be stressed and more vulnerable to pests and diseases. Routinely inspect your plants for any signs of trouble. Common suspects include aphids, slugs, and fungal diseases. Implement appropriate measures promptly, whether it’s introducing beneficial insects, using organic repellents, or adjusting environmental conditions.
Troubleshooting: Common Transplanting Issues
– Wilting: Seedlings may wilt after transplanting due to transplant shock. Ensure they are well-watered and avoid direct sun for a few days. They often recover with care.
– Yellowing Leaves: This can indicate over-watering or nutrient deficiency. Adjust watering habits and consider checking soil nutrient levels.
– Stunted Growth: Check soil conditions and spacing. Overcrowding or poor soil can lead to limited growth. Ensure adequate light, water, and nutrients.
Conclusion
Successfully transplanting seedlings is a rewarding skill that opens up endless possibilities in your garden. By understanding the needs of your plants and providing them with the right conditions, you can ensure that your seedlings grow into strong, healthy plants that can bear fruits, flowers, or vegetables with vigor.
Remember, gardening is a journey filled with trials and triumphs. Each seedling you nurture and each plant you grow contributes to your well-earned expertise and love for the earth. Enjoy the process, learn from each experience, and cherish the lush results of your labor. Happy gardening!

