Spring is finally here, bringing with it bursts of color, vibrant growth, and renewed energy for new outdoor projects. One satisfying way to make your garden both functional and aesthetically pleasing is by constructing a framed garden bed. This type of garden offers a structured space to cultivate your plants, improve your soil condition, and preserve your garden’s neat appearance. In this post, we will explore how to create a framed garden bed and the best practices for planting within it.
Why Choose a Framed Garden Bed?
Before diving into the ‘how,’ let’s discuss the ‘why.’ Framed garden beds, also known as raised garden beds, offer various advantages for both novice and experienced gardeners:
1. Improved Soil Quality: By filling your framed bed with nutrient-rich soil, you can drastically improve the growing conditions of your plants. This is especially helpful in areas where the native soil is too sandy, clayey, or infertile.
2. Better Drainage: Framed beds naturally enhance drainage, preventing waterlogging and thus reducing root rot risks.
3. Efficient Space Utilization: Creating structured areas for planting allows you to maximize space in your garden. This is particularly beneficial for small gardens or urban outdoor spaces where every square foot counts.
4. Pest Control: Raised frames can deter pests to some extent, especially when combined with other preventive measures such as netting or companion planting.
5. Ergonomics and Access: For those with mobility issues or the elderly, framed beds raised to waist or knee height can make gardening more accessible and enjoyable.
Building Your Framed Garden Bed
Materials You’ll Need:
– Untreated wood (such as cedar or redwood, known for their resistances to decay)
– Wood screws or galvanized nails
– Shovel
– Level
– Tape measure
– Gardening soil and compost
– Optional: landscape fabric, chicken wire (if you have issues with burrowing pests)
Steps to Construct Your Bed:
1. Select the Location: Choose a spot in your garden that receives the right amount of sunlight for the plants you intend to grow. Most vegetable and flower plants require a minimum of 6-8 hours of direct sunlight.
2. Decide on Dimensions: Common widths for framed beds are 3-4 feet; this allows you to reach the center of the bed without stepping inside. Length can vary based on your space, but should be manageable for your needs. Height typically ranges from 6 inches to 2 feet, based on necessity and aesthetics.
3. Prepare the Site: Clear the area of debris or vegetation. If you suspect pests, you might lay down chicken wire before adding soil. Level the ground as best as possible.
4. Construct the Frame: Cut the wood according to your desired dimensions. Secure the corners with wood screws or nails, ensuring the structure is square and sturdy. A level will help ensure your frame is even.
5. Position the Frame: Place your framed bed in the designated area. Check once more with the level and adjust as necessary.
6. Fill the Bed: Use a mix of garden soil and compost to fill your bed. An ideal blend maximizes nutrients and ensures good drainage. If your bed is taller, you can save on soil by layering with straw or wood chips at the bottom first.
Choosing and Planting Your Crops
Now that your framed garden bed stands ready, it’s time for the exciting part — planting! Consider these factors when selecting plants for your framed bed:
1. Climate Compatibility: Choose plants that thrive in your climate zone. Consult your local gardening center to determine what performs best in your region and season.
2. Plant Pairing: Use companion planting strategies. Some plants, like tomatoes and basil, thrive when grown together while others, like onions and peas, do not.
3. Crop Rotation: Plan for the future by considering crop rotation, which prevents nutrient depletion and curbs pest cycles.
4. Succession Planting: For continuous harvest, stagger plantings. Sow carrots and lettuce every 2-3 weeks, for instance.
After selecting, follow these tips for planting success:
– Layout Plan: Arrange your plants based on their mature size to avoid overcrowding. Taller plants like corn or trellised beans should be placed on the north side to prevent shading shorter companions.
– Soil Preparation: Make sure the soil is moist but not waterlogged. Before planting, lightly loosen the soil with a hand fork.
– Spacing and Depth: Plant seeds or seedlings at the recommended depth and distance apart, as indicated on seed packets or plant labels.
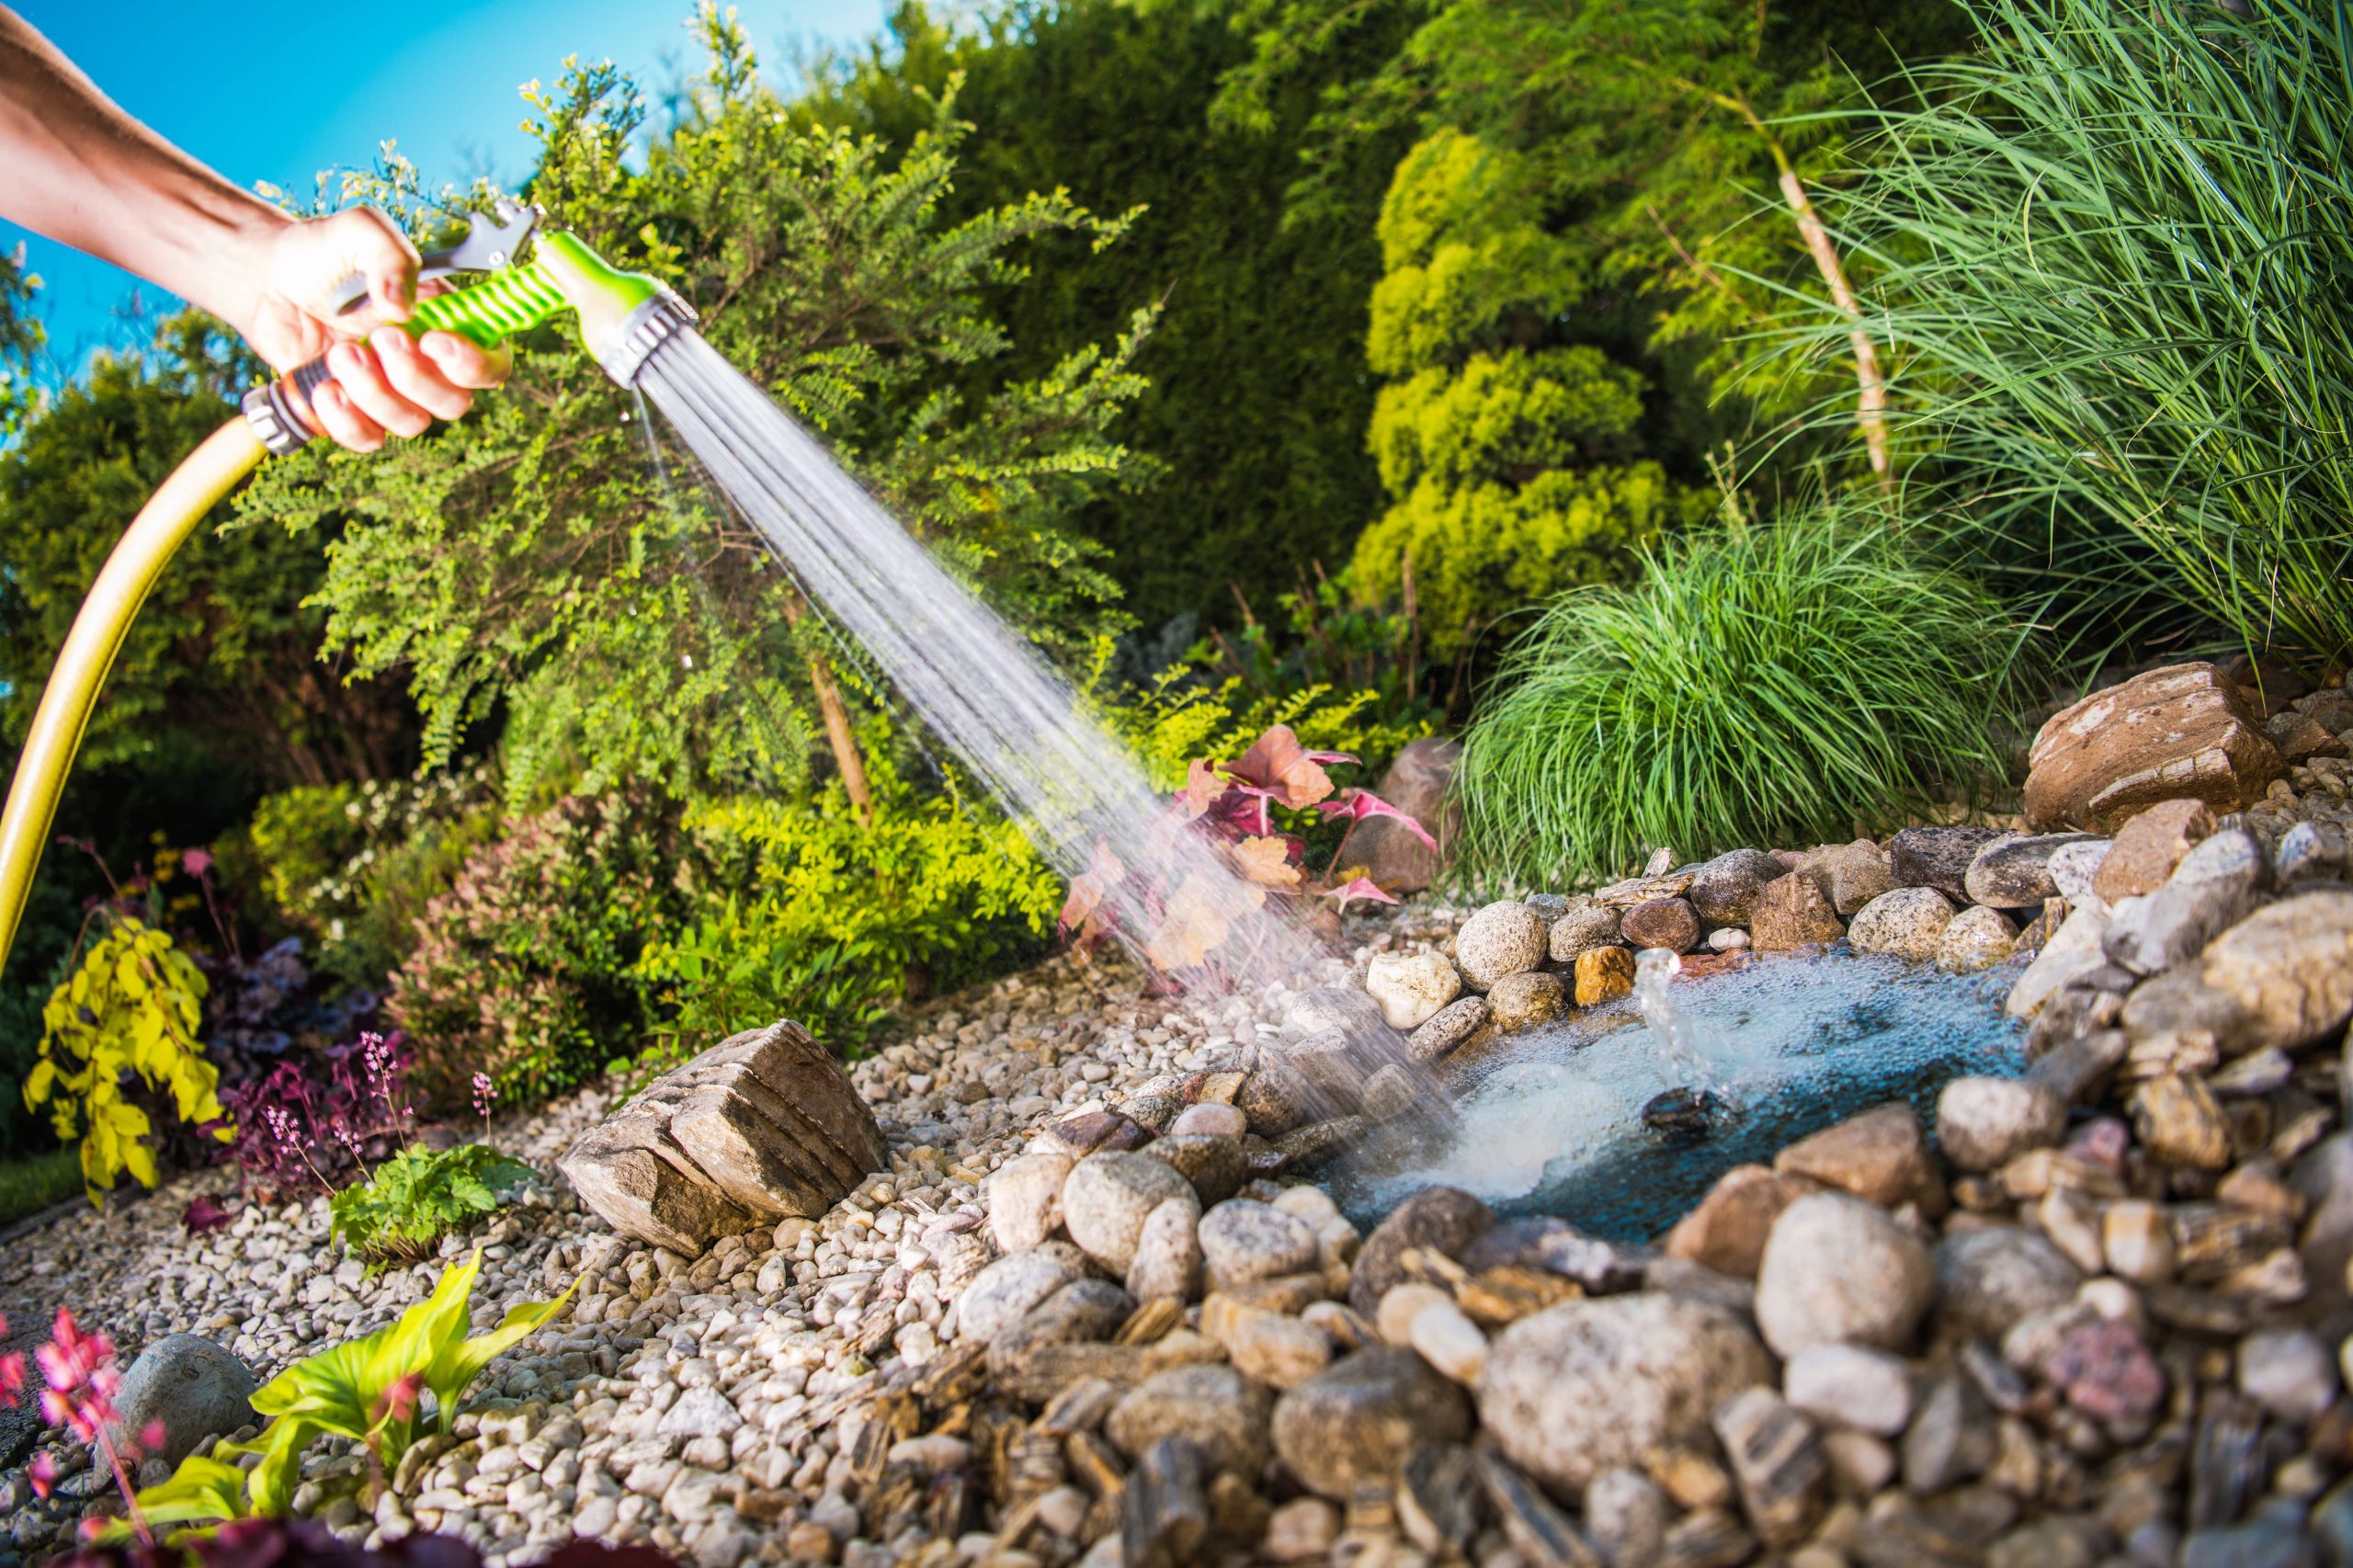
– Watering Strategy: Newly planted beds need consistent moisture. Water gently to avoid disturbing seeds—mulch can help retain moisture.
– Maintenance: Regularly check for pests, weeds, and signs of disease. Thin seedlings if they become overcrowded and amend soil with organic fertilizer as needed.
Enjoying the Bounty
One of the most rewarding aspects of gardening is witnessing your hard work transform into a bountiful harvest. A framed garden bed not only adds structure and beauty to your outdoor space but also optimizes conditions for healthy plant growth. Tend to your garden consistently, and don’t forget to enjoy the process. With a little patience and care, your framed garden bed will be a thriving refuge in your landscape, offering fresh produce or vibrant flowers to enjoy throughout the growing season. Happy gardening!

