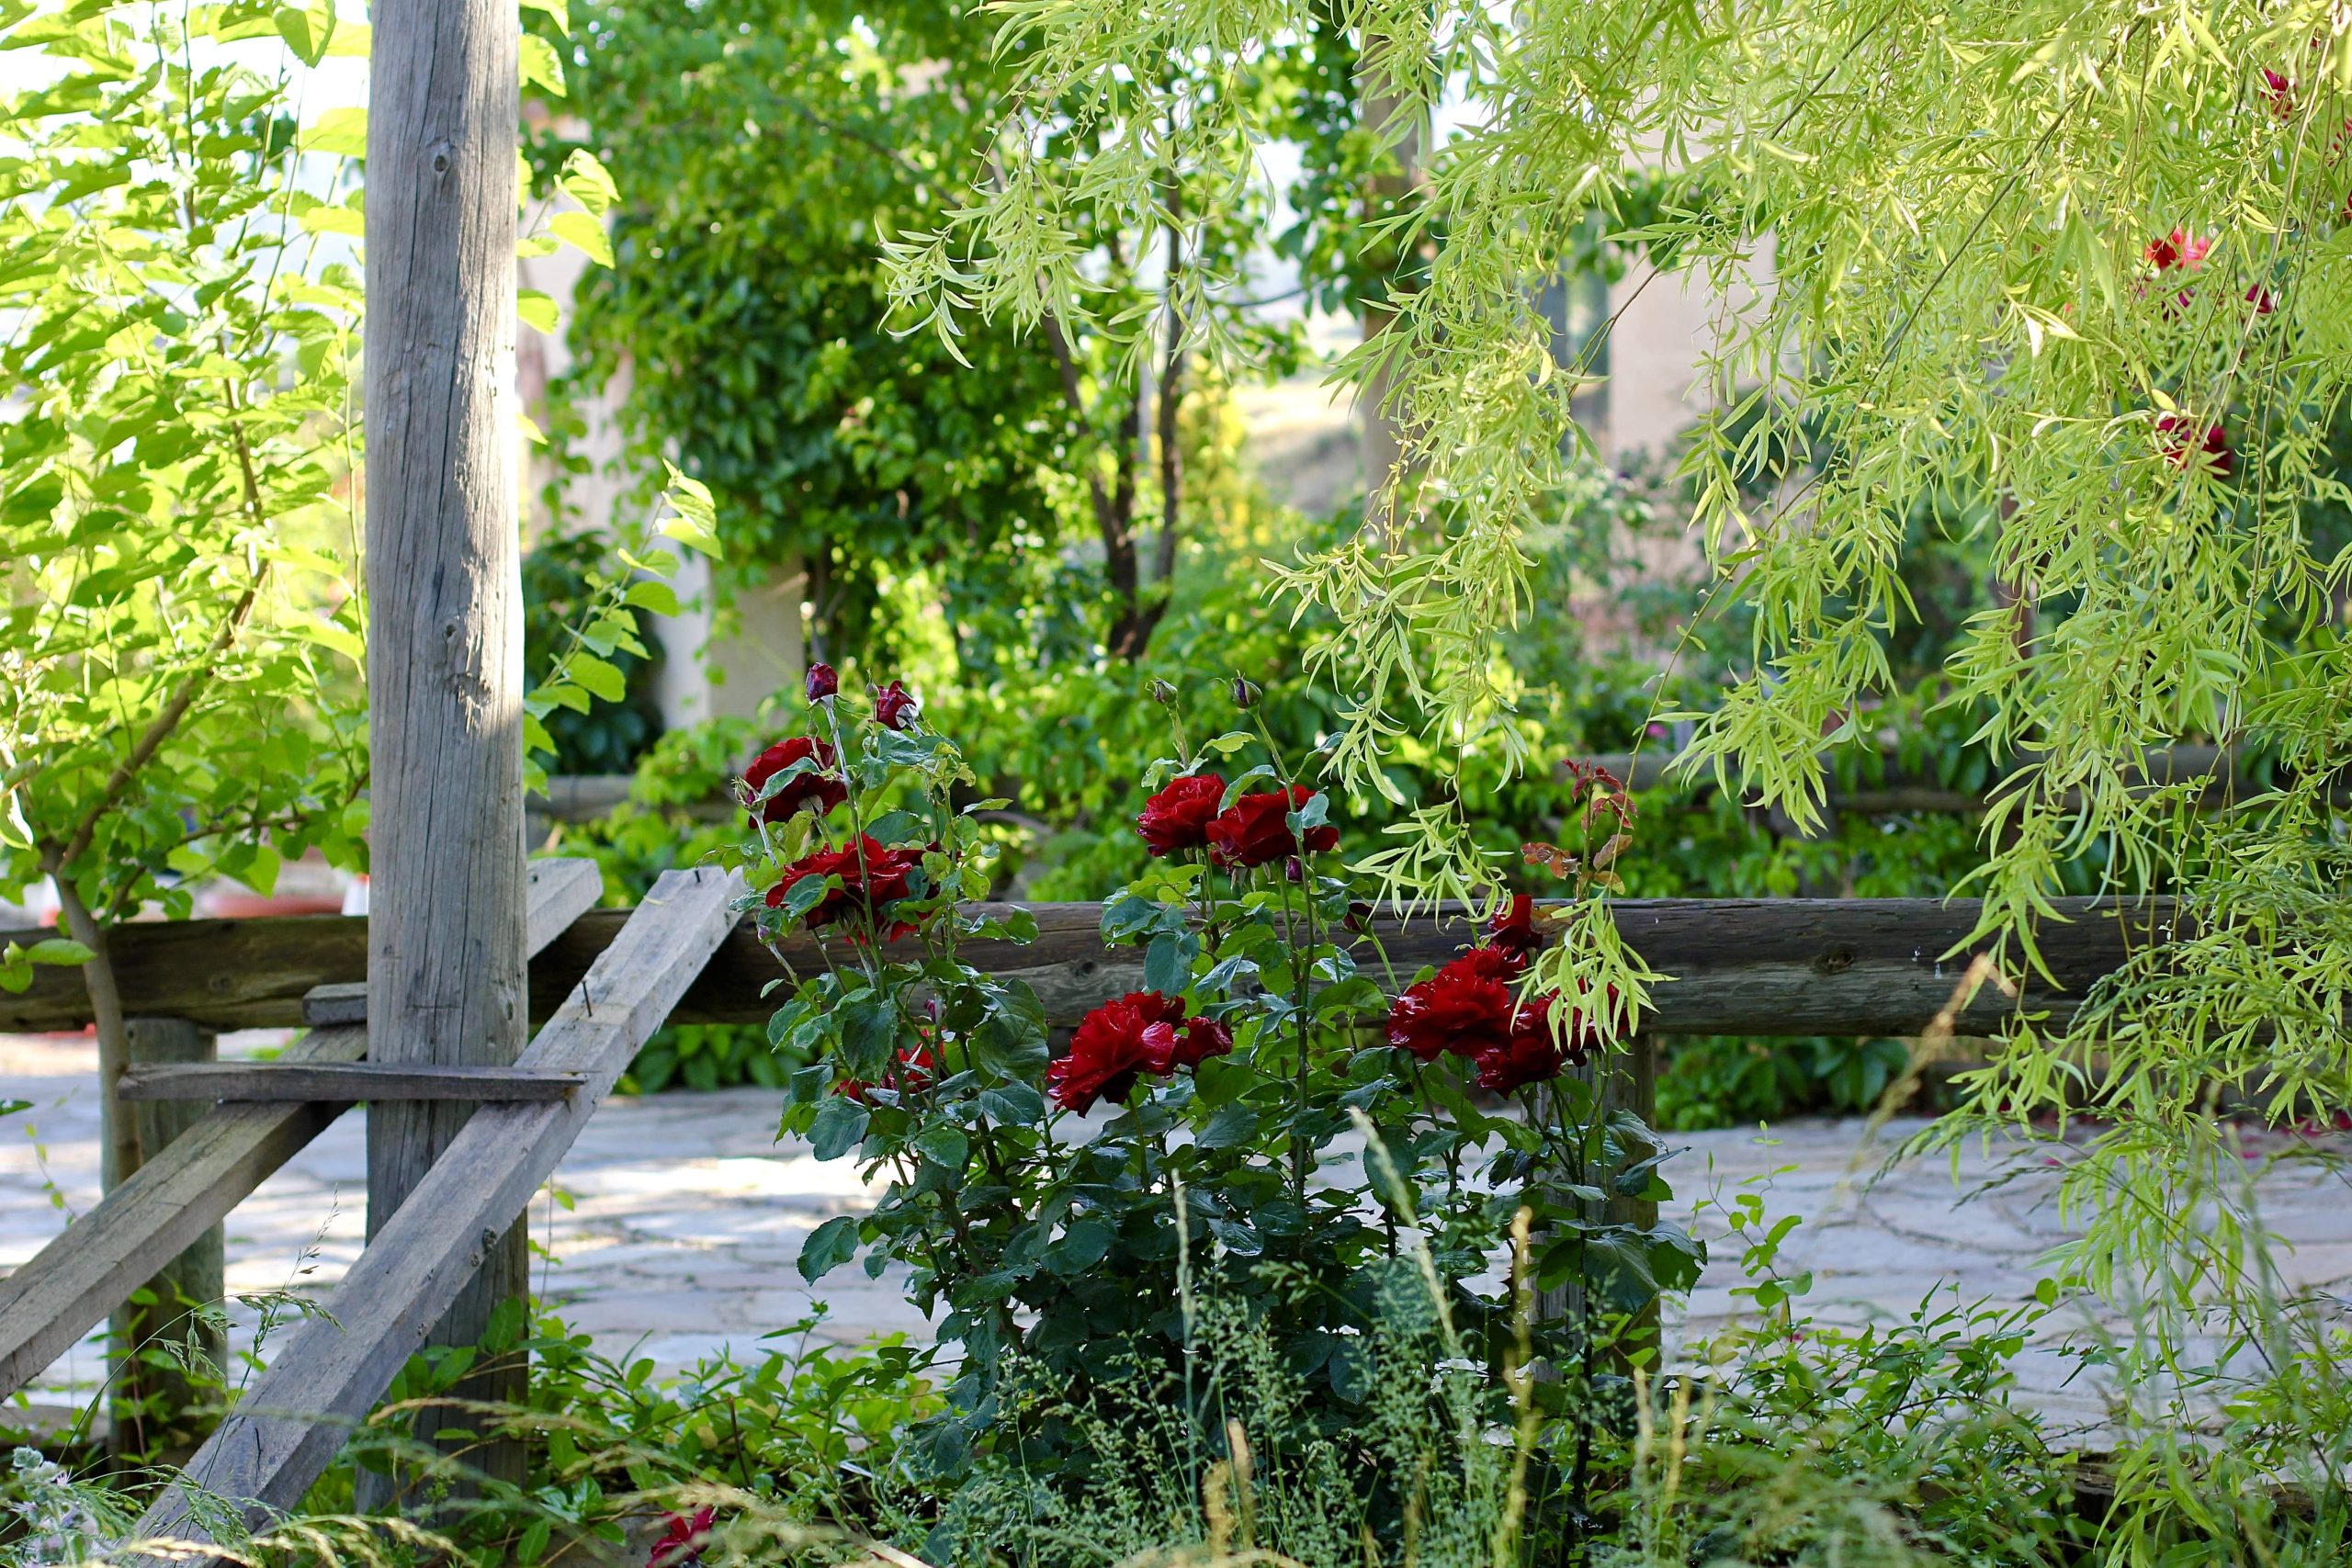
In today’s fast-paced world, where technology often dominates our homes, more and more people are turning to farmhouse décor for its warmth, simplicity, and rustic charm. One of the most beloved elements of farmhouse design is the rustic wooden sign. Whether adorned with motivational phrases, family names, or simple farm images, wooden signs can instantly add character and personality to any space. The best part? You can create your own rustic wooden sign at home! In this post, I’ll guide you through the steps to craft a charming piece that resonates with your unique style.
Why Rustic Wooden Signs?
Rustic wooden signs are not just a trend; they bring a timeless appeal to any home decor. Here are a few reasons why they are a favorite:
1. Timeless Charm: Wooden signs offer a sense of history and nostalgia. Their weathered look adds warmth and character, making them ideal for creating an inviting atmosphere.
2. Personalization: They offer unlimited customization possibilities. From choosing the wood type to selecting the message or design, you can create a sign that truly reflects your personality and home style.
3. Versatility: Wooden signs fit seamlessly into any room or outdoor space. Use them in the kitchen, living room, garden, or patio to create a cohesive and welcoming environment.
4. DIY-Friendly: With a few materials and some creativity, you can create beautiful wooden signs, even if you are a beginner in DIY projects.
Materials You’ll Need
Before starting your project, gather the following materials:
– Wood Board: Choose a piece of wood that fits your desired size and shape. Reclaimed wood or pallets offer a naturally rustic look and are eco-friendly choices.
– Sandpaper: Use medium to fine-grit sandpaper to smooth the surface and edges of the wood.
– Wood Stain or Paint: Decide on the color theme. A stain preserves the wood grain for a more natural look, while paint allows for vibrant color options.
– Paintbrushes or Foam Brushes: You’ll need these for applying paint or stain.
– Stencil or Freehand Design: Determine the design or wording for your sign. You can either purchase stencils, print your own, or freehand draw if you’re confident in your skills.
– Acrylic Paint or Marker Pens: These are used for the lettering and designs on the sign.
– Sealant: A clear sealant or varnish will protect the wood and design, especially if the sign is intended for outdoor display.
– Hanging Hardware: Decide how you will display your sign and gather the necessary hardware, such as hooks or string.
Step-by-Step Guide
Step 1: Prepare the Wood
Start by sanding your wood thoroughly. The aim is to create a smooth surface that will hold paint or stain well. Focus particularly on the edges to remove any splinters. Once the board is smooth to the touch, wipe it down with a damp cloth to remove residual dust.
Step 2: Apply Stain or Base Paint
If you’re opting for a stained finish, apply the stain using a clean cloth or brush, working in the direction of the wood grain. Allow it to sit for the recommended time before wiping off any excess. If you prefer a painted background, apply a coat of paint using even strokes. Depending on the color, you might need two coats for full coverage.
Step 3: Design Your Sign
While the base is drying, you can work on your design. Decide on the message or image you’d like to feature on your sign. Use a stencil for precise lettering, or sketch your design lightly onto the wood with a pencil if you’re confident going freehand.
Step 4: Paint the Design
Once your design is laid out, paint it onto the wood. Use fine brushes or paint markers to ensure clean lines. Acrylic paint works best for a durable and vibrant finish. Take your time with this step to achieve a professional look.
Step 5: Add Distressing (Optional)
For an additional rustic touch, consider lightly sanding the edges and some areas of your design once the paint is dry. This gives your sign an aged look, enhancing the farmhouse aesthetic.
Step 6: Seal the Sign
Protect your artwork by applying a thin, even coat of sealant. This step is crucial if your sign will be placed outdoors. Allow the sealant to dry completely according to the manufacturer’s instructions.
Step 7: Attach Hanging Hardware
Finally, based on where you want to display your sign, attach appropriate hanging hardware. This could be sawtooth hangers for wall mounting or a piece of twine for a more casual display.
Displaying Your Rustic Wooden Sign
Now that your masterpiece is complete, it’s time to showcase it! Here are a few creative ideas:
1. Gallery Wall: Incorporate your sign into a gallery wall with other artwork, photographs, and decorative items to create an eye-catching focal point.
2. Entryway Statement: Hang your sign in the entryway to greet guests and set the tone for the rest of your home.
3. Kitchen Decor: Kitchen signs with messages like “Gather” or “Farm Fresh” can bring charm and warmth to your cooking space.
4. Outdoor Space: Enhance your porch or garden decor by hanging your sign on a fence or near your favorite seating area.
5. Seasonal Display: Create wooden signs for each season and rotate them throughout the year for a fresh look.
Creating your own rustic wooden signs is a rewarding DIY project that allows you to add a personal touch to your home. Whether you’re a seasoned crafter or a DIY newbie, this project is a wonderful way to express your creativity and bring the cozy appeal of farmhouse decor to any space. So gather your materials, roll up your sleeves, and immerse yourself in the joy of crafting your own rustic masterpiece.


