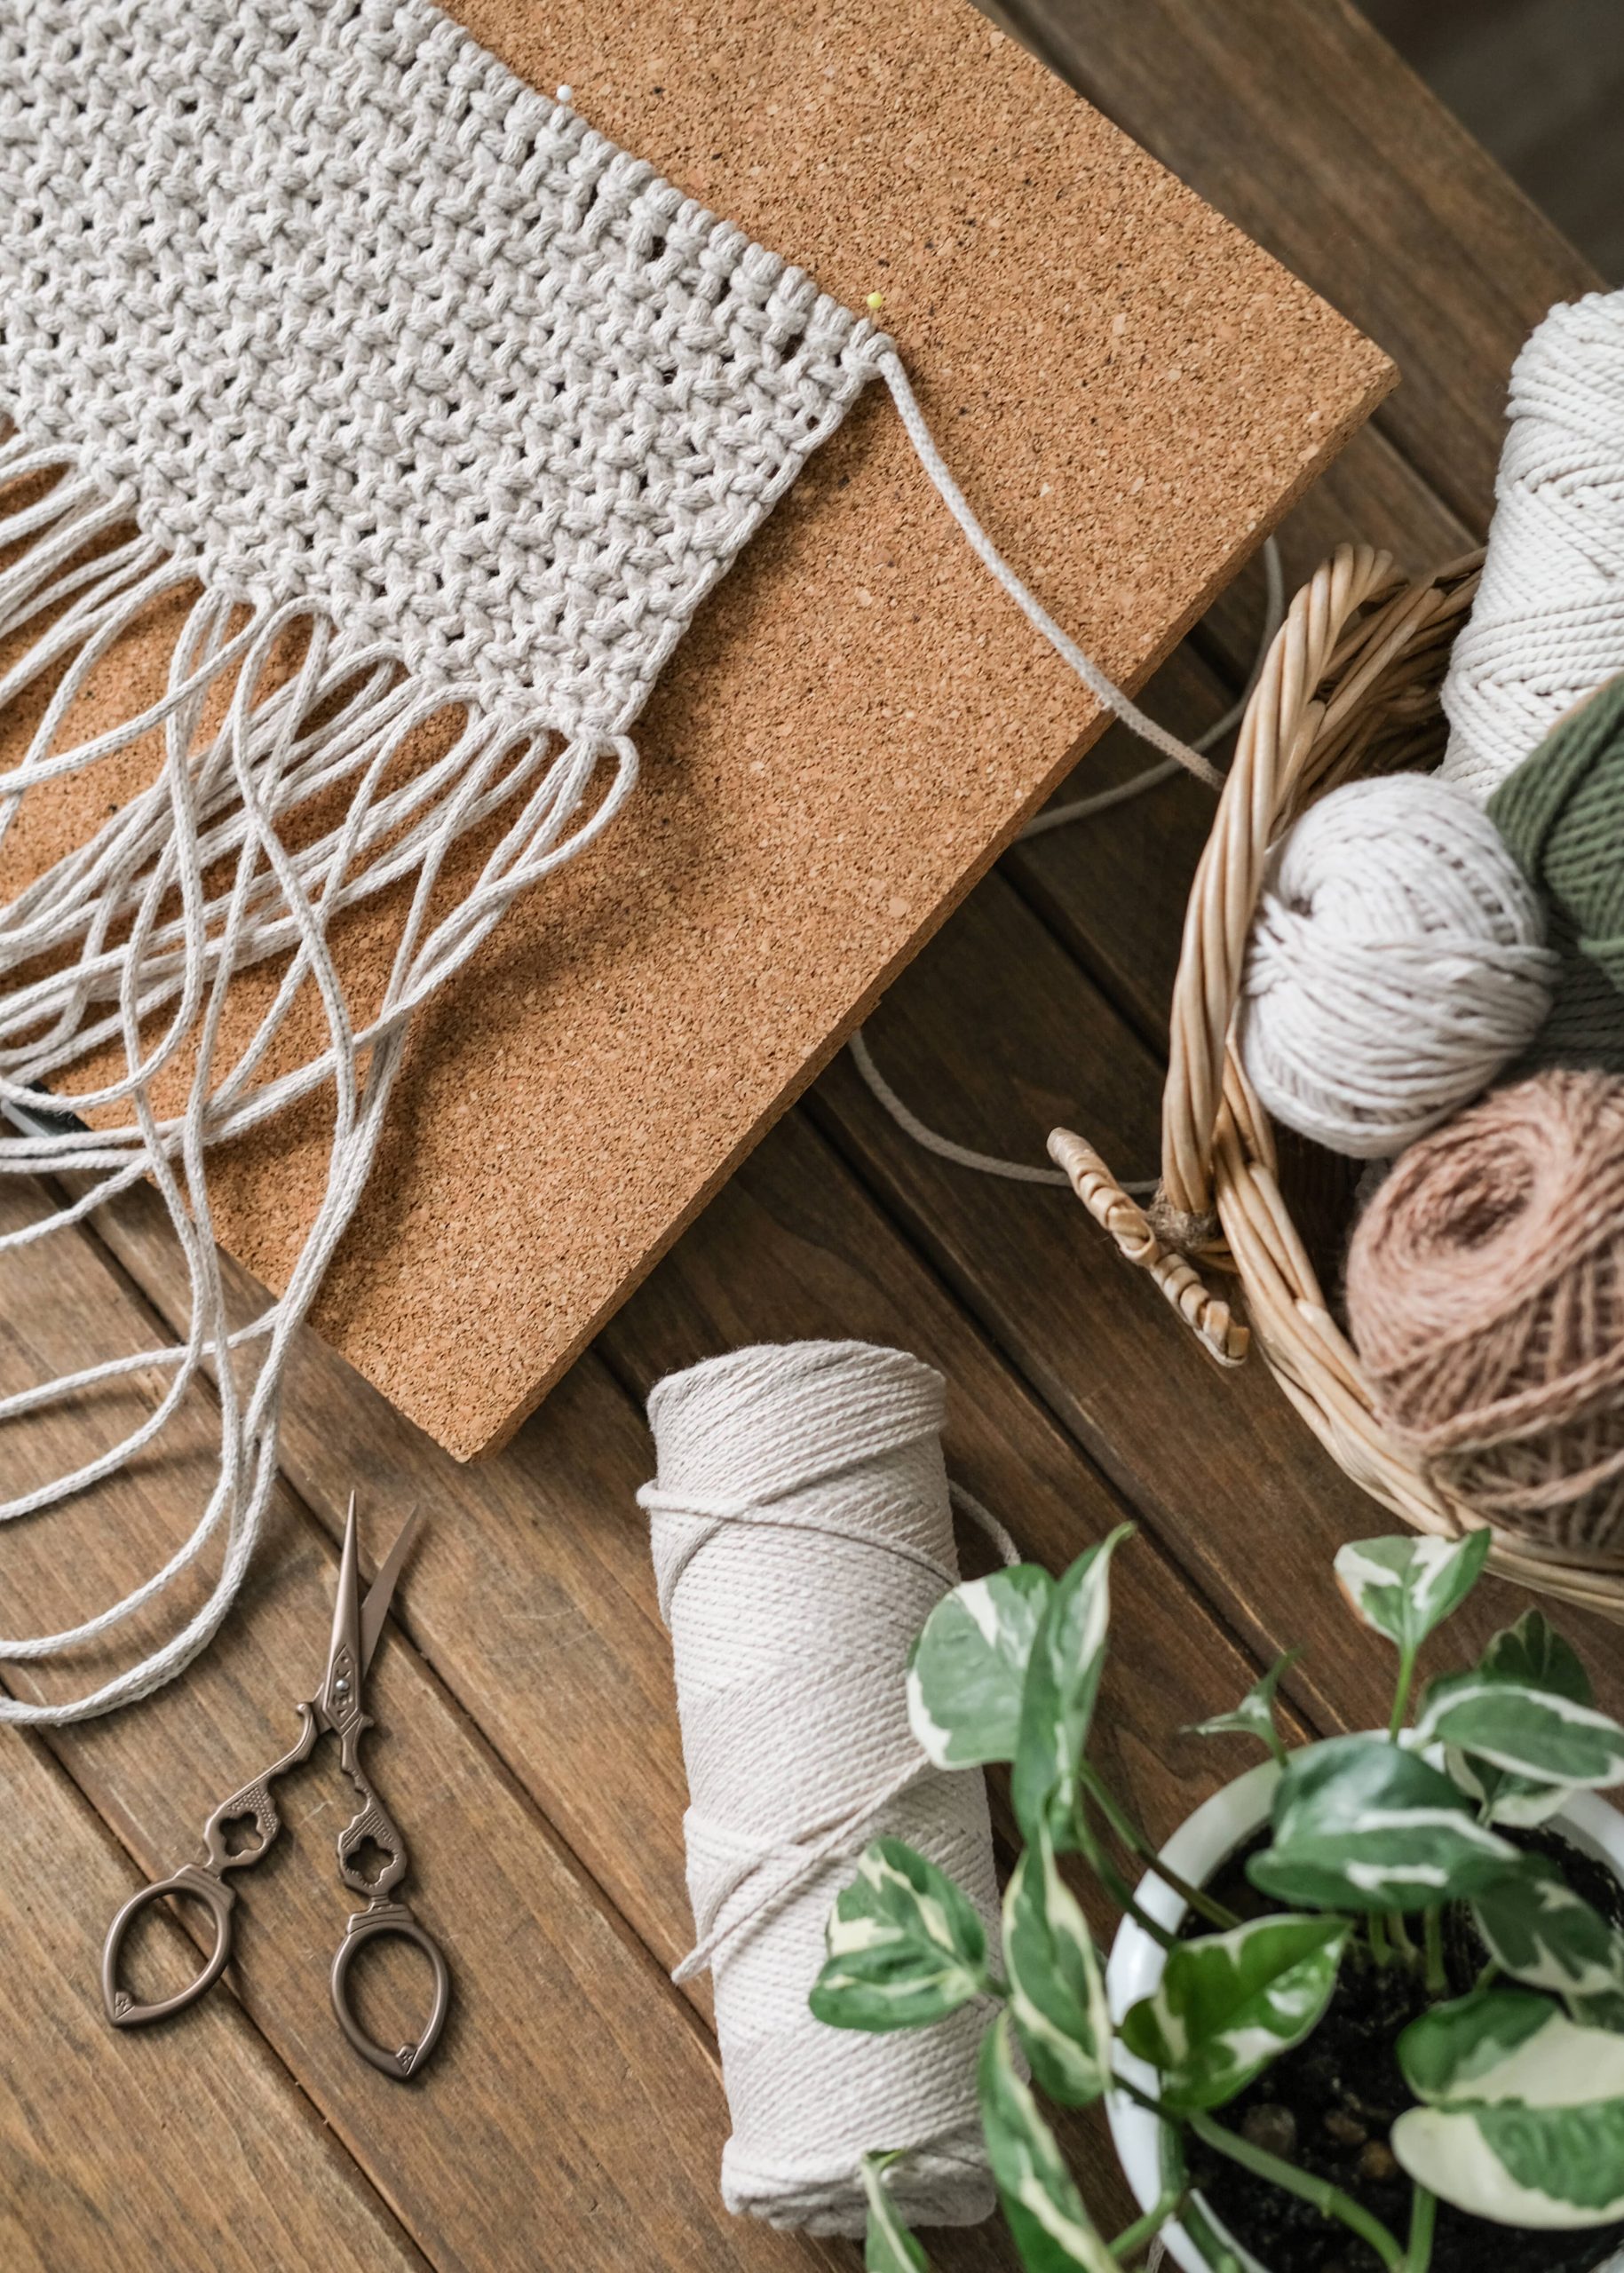
In today’s technology-driven world, stepping back into simpler times can be a delightful escape. Vintage-inspired projects are all about embracing nostalgia, simplicity, and timeless aesthetics. One beautiful and functional DIY project that perfectly captures these elements is a vintage-inspired chalkboard. Whether you want to use it for jotting down daily notes, displaying charming quotes, or organizing your weekly menu, a chalkboard can become a stylish focal point in any room. So, gather up your crafting supplies, and let’s create a DIY chalkboard that’ll transport you to yesteryear.
Materials You’ll Need:
– A wooden frame (an old mirror or picture frame works perfectly)
– Sandpaper
– Chalkboard paint
– A paintbrush or roller
– Chalk
– A piece of hardboard or plywood (cut to fit the frame)
– Vintage-style hardware (hooks or decorative corners, if desired)
– Screws and screwdriver
– Primer (optional)
– Decorative elements (vintage stickers, decoupage paper, or stencils)
– Clear sealant (for any decorative work)
Step 1: Choose Your Frame
The heart of your vintage-inspired chalkboard is the frame. When selecting, think of something with character—ornate, worn, or with an interesting shape. Thrift stores, garage sales, or even your attic might offer hidden gems. An old frame adds authenticity and charm straight away. If your frame has been painted previously, you might want to start by sanding it to remove any rough patches, especially if you plan on repainting it.
Step 2: Prepare Your Board
If you’re repurposing an old mirror or picture frame, remove any existing backing and glass. Cut your hardboard or plywood to fit the frame snugly. If the wood is particularly smooth, a quick sanding might be necessary to help the paint adhere better.
Step 3: Apply Chalkboard Paint
Before you dive into applying the chalkboard paint, consider whether you need a coat of primer. This will depend on the type of board and the specifics of the chalkboard paint you’re using—check the paint can for guidance. Once the primer is dry (if you used it), apply the first coat of chalkboard paint. Use a brush for smaller boards and a roller for larger ones to ensure a smooth, even finish. Most chalkboard paints will require at least two coats, so be sure to allow the first coat to dry completely before applying the next.
Step 4: Customize the Frame
While waiting for your chalkboard to dry, take the opportunity to customize your frame. If the frame’s natural patina is perfect, simply clean it; for a refreshing look, consider distressing it with sandpaper or painting it in a color that complements your decor. You can add decorative elements like vintage stickers, stencils with intricate patterns, or even decoupage using aged paper.
For an extra touch of nostalgia, affix vintage-style hardware such as corner brackets or hooks. These not only enhance the visual appeal but can also serve practical purposes—use hooks to hang keys, or add a small shelf for chalk storage.
Step 5: Assemble Your Chalkboard
Once both the board and the frame are ready, reassemble your chalkboard. Place the painted board into the frame. Depending on the frame’s design, you may need to secure it with small nails or screws. Ensure it’s tightly fastened to prevent any wobbling when writing on it.
Step 6: Season the Chalkboard
Before using the chalkboard for the first time, you’ll need to season it. Rub the side of a piece of chalk over the entire board, and then wipe it off with a dry cloth. This simple step will prevent any markings from becoming etched into the board and ensure easy erasing in the future.
Step 7: Let Your Creativity Shine
Now with your vintage-inspired chalkboard complete, it’s time to showcase your creativity. Consider writing a favorite quote, a welcome message, or a daily reflection. If placed in the kitchen, it can become a menu board or grocery list reminder. The possibilities are as limitless as your imagination.
Bonus Touch: Frame Lighting
For those who crave an extra layer of vintage allure, consider adding LED strip lights behind the frame. This simple addition can create a warm glow around your chalkboard, mimicking the look of old marquee signs or a softly lit café nook. It’s especially lovely for evening ambience or during the holiday season.
Conclusion
Creating a vintage-inspired DIY chalkboard is more than just a craft—it’s a journey back to a time when written words held the elegance of charm and personality. This delightful project not only offers a functional piece for your home but also allows the expression of your unique style and creativity. Each interaction with your chalkboard will remind you of the warmth and simplicity of eras gone by, all while complementing your modern space with a touch of nostalgic elegance.

