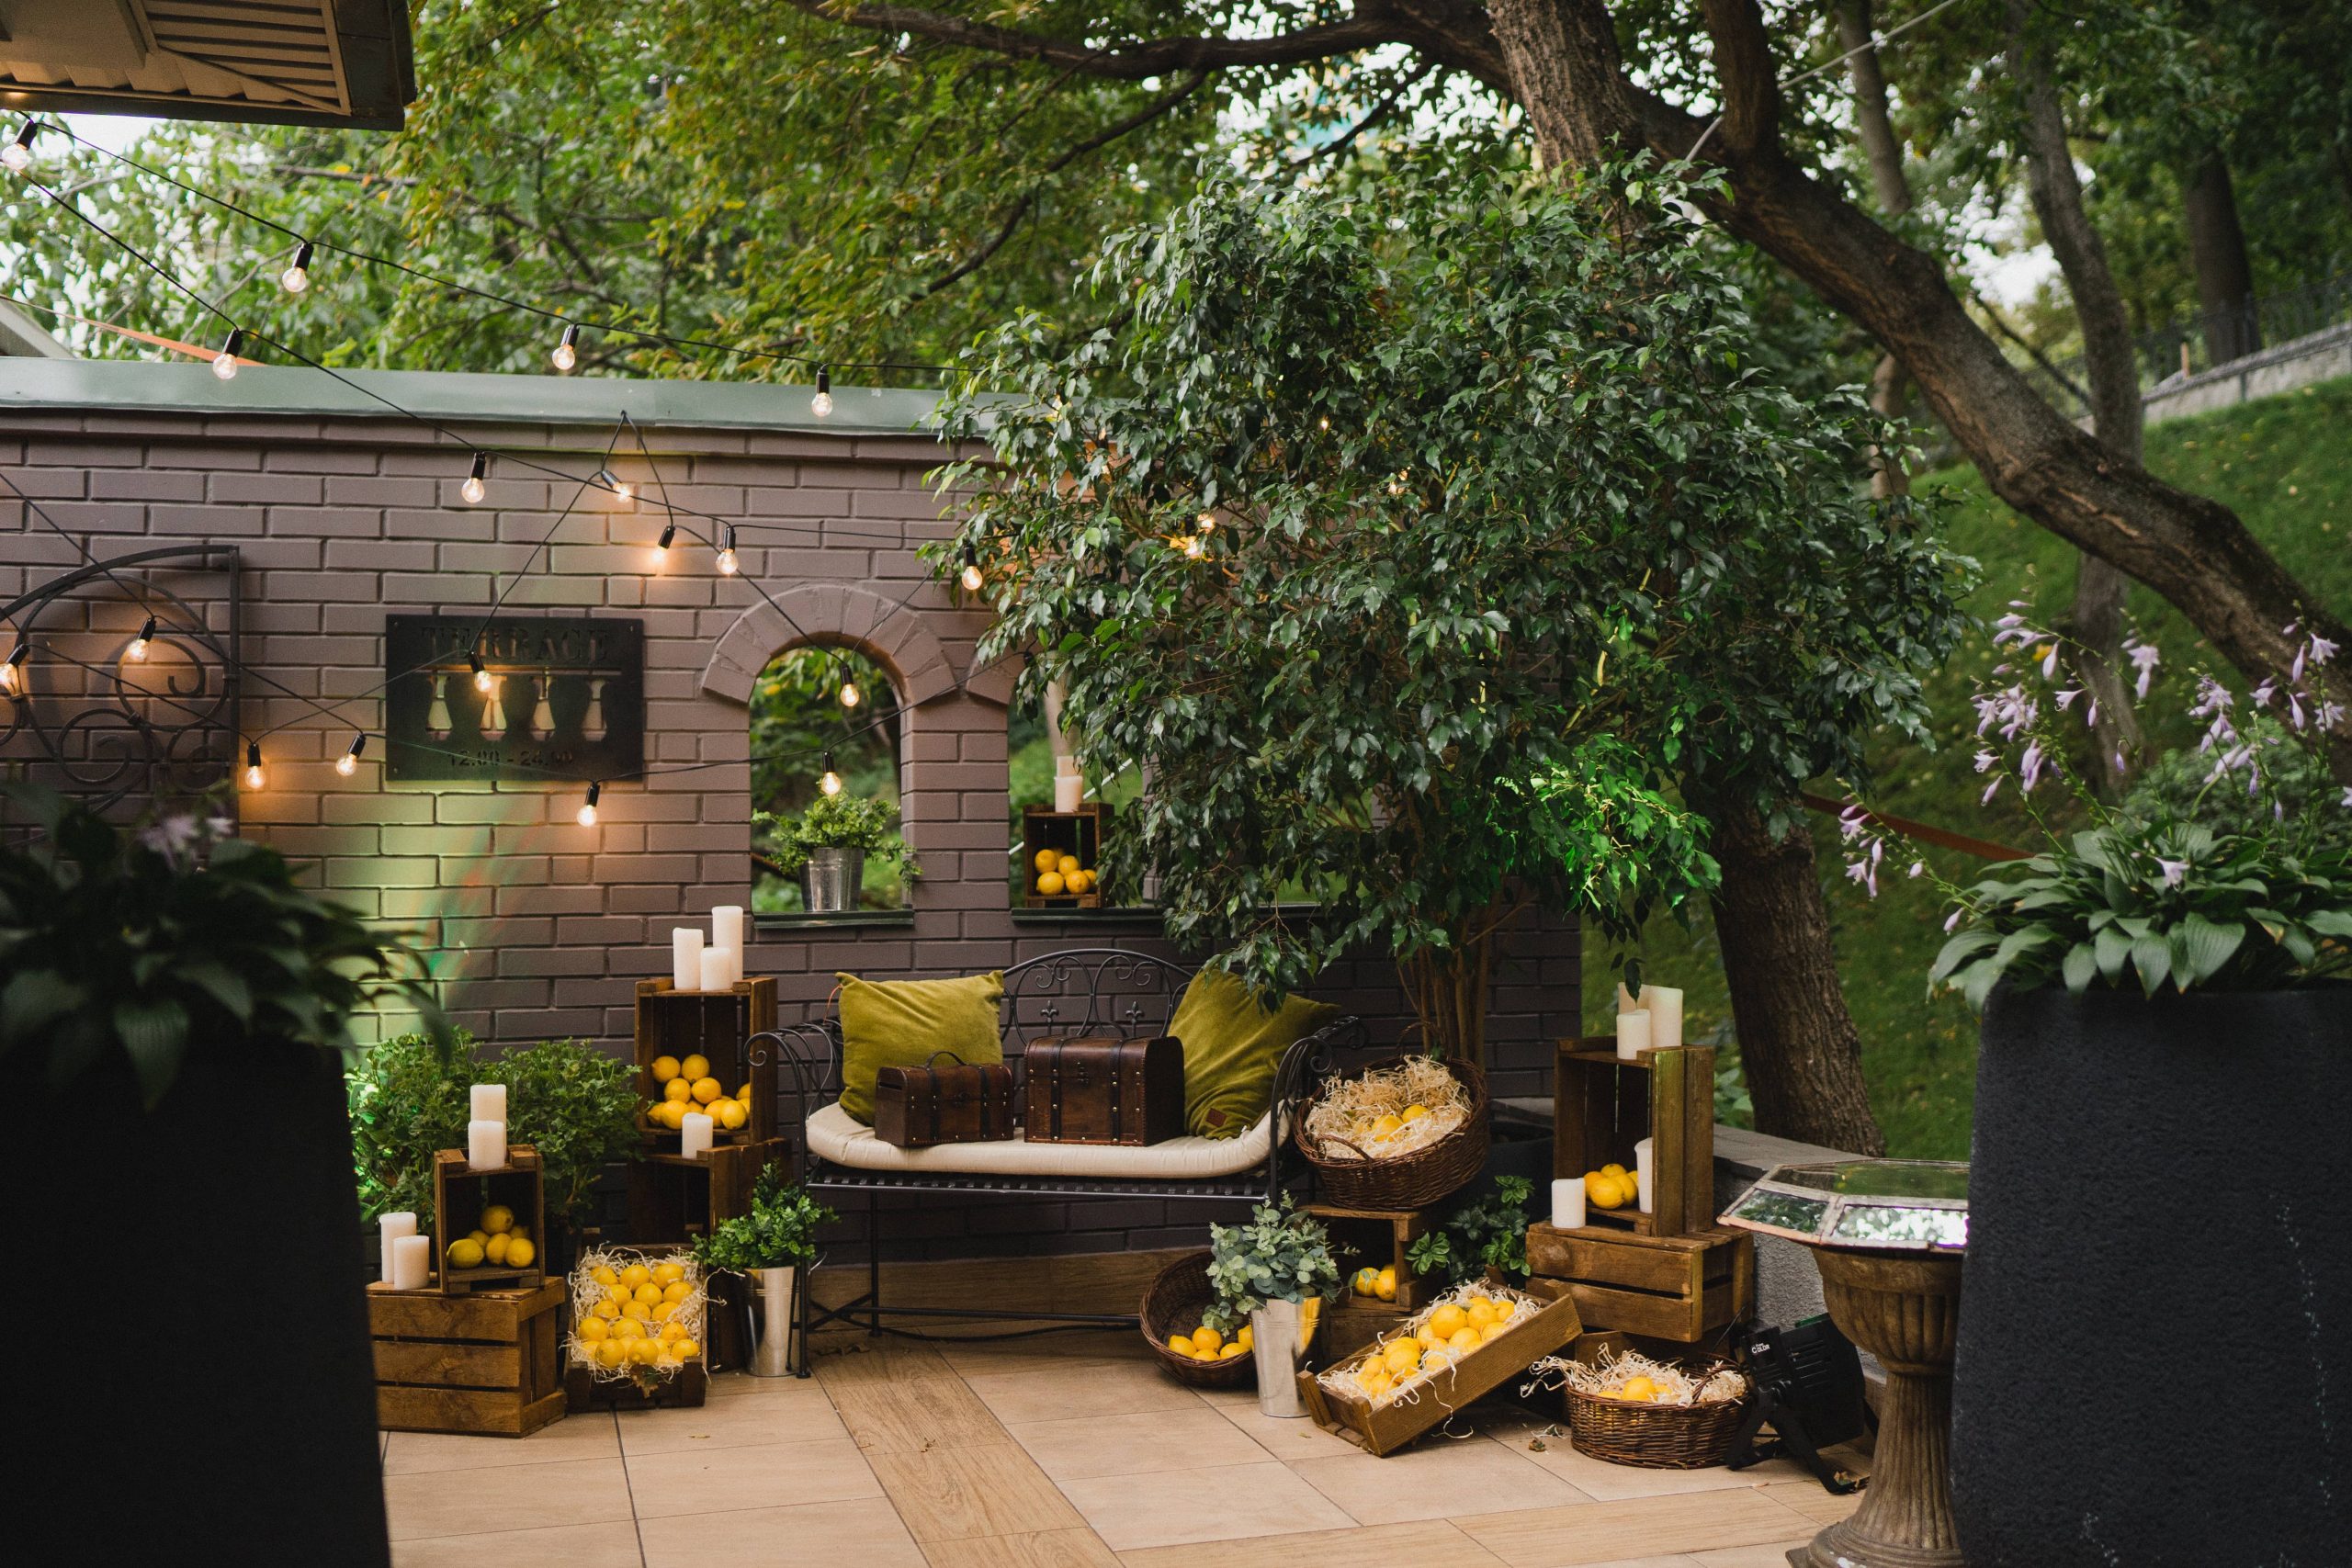
Are you looking to add a touch of warmth and character to your living space? A candle wall might just be the perfect project for you! Not only does it create a soothing ambiance, but it’s also an excellent opportunity to showcase your passion for DIY and crafting. Whether you’re aiming to transform your lounge area, create a serene corner in your bedroom, or add a cozy glow to your garden patio, a DIY candle wall is both a practical and aesthetic addition. In this blog post, I’ll guide you step-by-step on how to craft your own candle wall for ambient lighting, creating a beautiful backdrop that envelops your home with soft, flickering light.
Materials You’ll Need:
1. Wooden Planks or Pallets: Choose a sturdy, visually appealing wood that complements your existing décor.
2. Wood Stain or Paint (optional): To finish your wood, either highlighting its natural grain or adding a splash of color.
3. Hanging Hardware: Such as screws, wall anchors, picture hangers, or French cleats.
4. Metal or Wooden Candle Holders: Sturdy enough to hold the candles and that match the style of your space.
5. Candles: Opt for different sizes and colors for a dynamic effect, but ensure they fit safely in the holders.
6. Sandpaper: To smooth the wood surface and edges.
7. Measuring Tape and Pencil: For precise markings.
8. Drill and Screws: Essential for assembling your candle wall.
9. Clear Varnish or Polyurethane (if outdoor use): For protection against weathering.
Step-by-Step Guide:
Step 1: Designing Your Candle Wall
Before you get to work, you’ll need a plan. Measure the area where you intend to hang your candle wall. Consider how many candles you want it to hold and how frequently you plan to use them. Sketch a layout for your candle holders—symmetrical arrangements offer a classic look, while an asymmetrical setup can create a striking modern effect. This blueprint will guide your steps moving forward, so take time to visualize what you want.
Step 2: Preparing the Wood
Once you’ve finalized your design, it’s time to prepare the wooden planks or pallets. Sand each piece thoroughly to ensure that the surface is smooth and splinter-free. If you want the natural beauty of the wood to shine, consider applying a wood stain of your choice. For added protection, especially if your candle wall will be exposed to the elements, finish with a clear varnish or polyurethane. Alternatively, if your design calls for bold colors, painting might be your preferred option.
Step 3: Attaching the Candle Holders
Position your candle holders according to your design. Use a measuring tape and pencil to mark where each holder will be attached. Ensure that they are evenly spaced and level. When you’re satisfied with the placement, secure each holder by drilling it into the wood with screws. Double-check that they are firmly attached to prevent any accidents.
Step 4: Installing the Hanging Hardware
Now that your candle wall is taking shape, you’ll need to think about safely securing it to the wall. Use robust hanging hardware that can support the weight of both the wood and the candles. Picture hangers or French cleats are usually reliable choices for indoor installations. If you’re mounting outdoors, ensure that your fixings are also weatherproof.
Step 5: Arranging the Candles
With the structure complete, select an array of candles that fit your holders. You might choose to mix pillar and taper candles for a varied look, or you could stick with a uniform color palette for a more polished finish. Place your candles in the holders, ensuring they sit snugly and that they’re stable.
Step 6: Safety Checks
Safety is key when dealing with open flames. Keep flammable materials away from your candle wall, and make sure there is enough space between each candle to prevent overheating. Consider using LED candles if you have any reservations about safety. They offer a similar ambiance without the risk associated with traditional candles.
Step 7: Setting the Ambiance
The final step involves enjoying the ambiance your candle wall creates. Lighting the candles will introduce a calm, serene glow to your space, so consider incorporating complementary elements such as soft textiles, aromatic diffusers, or a background of gentle music to complete the atmosphere.
Customization Tips:
– Theme Selection: Align your candle wall design with themes such as rustic farmhouse, minimalist modern, or bohemian chic to enhance your interior design.
– Incorporating Scents: Opt for scented candles to add an aromatic dimension that can relax and revitalize your space.
– Adding Seasonal Touches: Swap your candle selection or decorations to reflect different seasons or holidays, providing a year-round sensory experience.
Maintenance Tips:
– Regular Checks: Inspect the wall and holders periodically to ensure everything remains secure.
– Dusting: Keep the wood and candle holders clean to maintain their aesthetic appeal.
– Replace or Trim Wicks: Replace candles as needed, and regularly trim the wicks for an even burn.
Creating a DIY candle wall is not only a fulfilling project but also a timeless way to add ambiance to any part of your home. By following these steps and infusing your own creativity, you’ll craft a unique piece that’s both functional and decorative—one that crafts a cozy atmosphere tailored specifically for you. So, gather your materials, ignite your imagination, and get ready to bask in the glow of your own creations.


