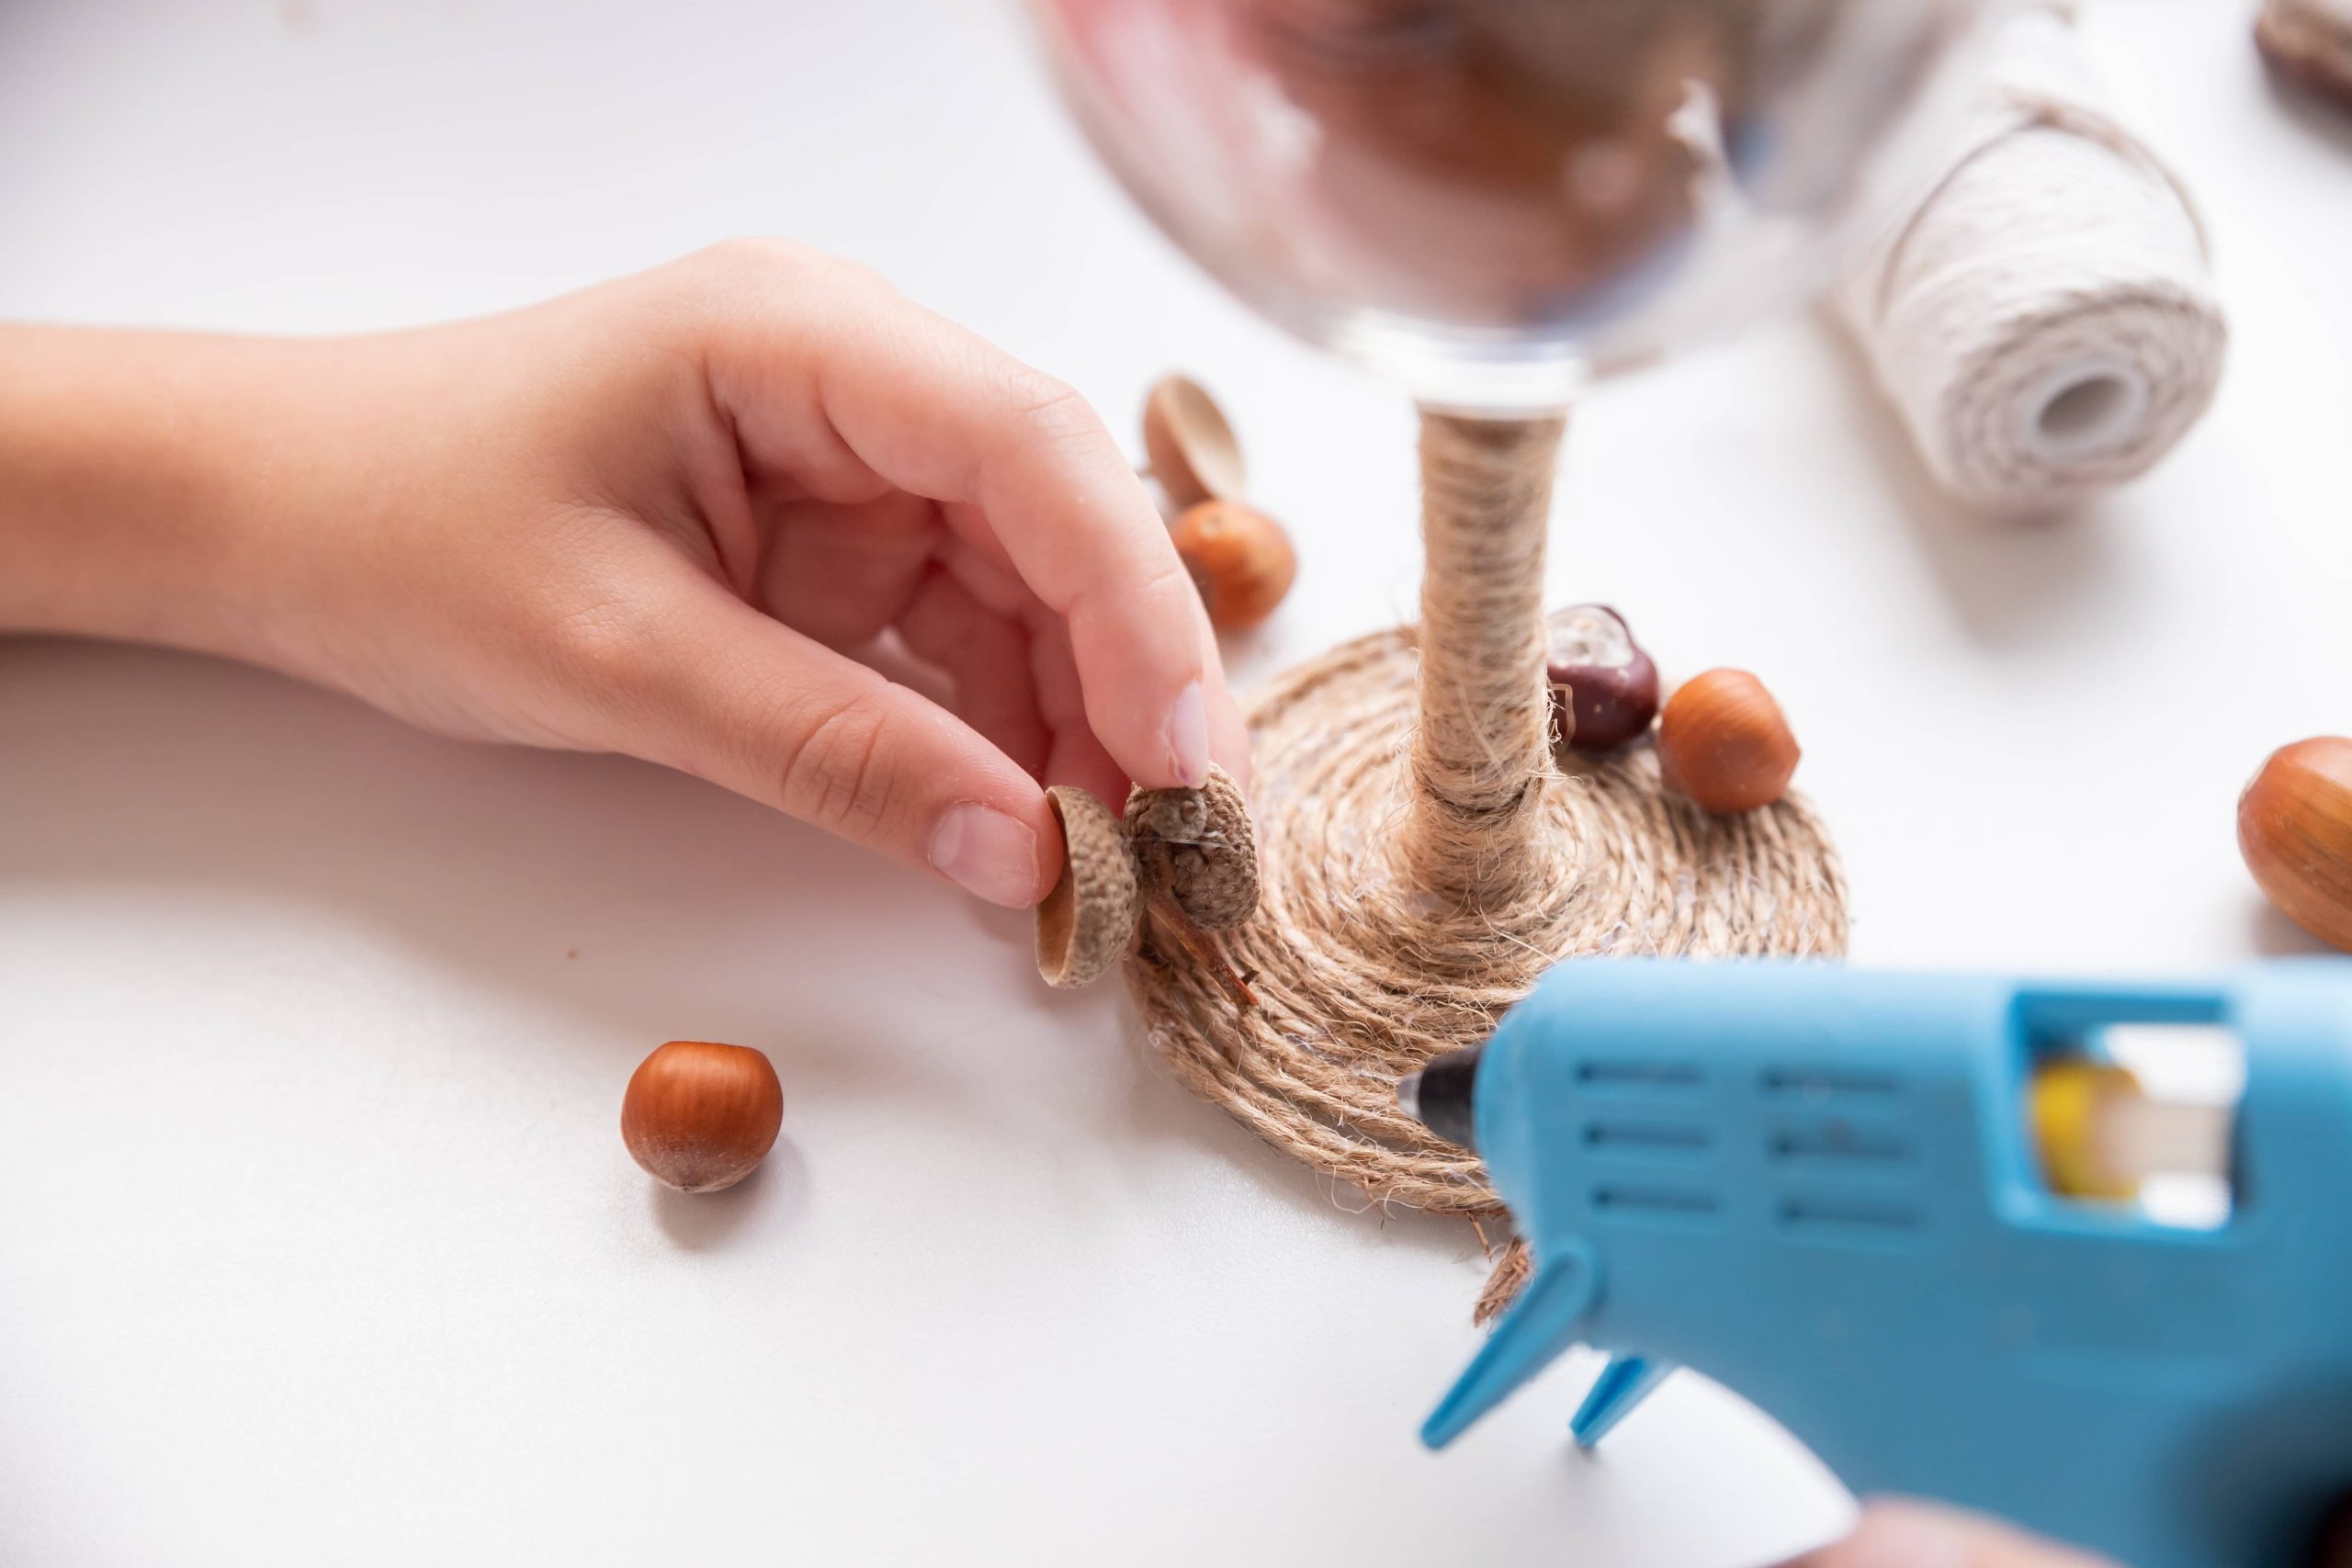
Organizing a bathroom can sometimes be a daunting task, especially with the chaos of toiletries, towels, and miscellaneous items that seem to multiply overnight. Instead of spending extravagantly on store-bought solutions, why not harness your creativity and make your own chic and functional storage? Rope baskets are a trendy, eco-friendly solution that can add a rustic charm to your space while keeping it tidy. In this guide, we’ll walk you through the process of creating your own rope baskets – a perfect blend of style and utility for your bathroom organization.
Why Rope Baskets?
Rope baskets have gained popularity in home decor not just for their practical benefits but also for their aesthetic appeal. They seamlessly complement a variety of interior styles, from coastal and bohemian to farmhouse and contemporary. Additionally, they are durable, versatile, and make for a satisfying DIY project. Making your own rope baskets allows you to tailor the size, color, and pattern to perfectly match your bathroom’s decor.
Materials You’ll Need
Creating your own rope baskets is a straightforward process requiring only a few materials. Here’s what you’ll need:
– Cotton or jute rope: Choose the thickness based on the desired strength and size of the basket. Thicker rope provides more structure.
– Glue gun and glue sticks: Essential for holding the rope together as you form the basket.
– A bowl or round container: Use this as a mold to shape your basket.
– Scissors: For cutting the rope.
– Clothespins or binder clips: To hold the rope in place as the glue dries.
– Decorative elements (optional): Such as fabric scraps, paint, or beads for personalization.
Step-by-Step Guide to Making Rope Baskets
Step 1: Planning Your Basket
Before diving into the crafting, decide on the size and shape of your basket. Are you planning to store toilet paper rolls, cotton balls, or maybe even house a potted plant? Your intended use will dictate the basket’s dimensions. Using a mold like a bowl helps maintain a consistent shape as you build your basket.
Step 2: Starting the Base
Begin by creating the base of your basket. This can be achieved by coiling the rope tightly in a circle. Use the hot glue gun to apply adhesive every couple of inches to secure the rope in place. This foundational step requires patience, as a sturdy base is critical for the basket’s overall stability.
Step 3: Building Up the Sides
Once the base reaches the desired size, gradually start building upward by continuing to wrap the rope in a spiral. To achieve the basket’s height, ensure each layer of rope is glued both to the layer beneath it and the base. Employ clothespins or binder clips to hold the rope in position as the glue dries.
Step 4: Shaping Your Basket
As you progress, consider how you want the shape of your basket to look. Do you prefer straight sides or a more tapered look? Adjust the rope placement accordingly to widen or narrow the basket’s top. Remember, the key to a cohesive look is even gluing and tension throughout the construction process.
Step 5: Finishing Touches
Once the basket reaches your intended height, securely fasten the end of the rope inside the basket for a clean finish. Here is your opportunity to add any creative embellishments. Use fabric scraps to line the interior, paint a pattern on the exterior, or attach decorative beads for a personalized touch.
Step 6: Let it Set
Allow your basket to sit overnight for the glue to set completely. Once dry, remove any excess glue strings and check for any spots that might require additional adhesive.
Personalization Ideas
While rope baskets on their own offer a beautiful, rustic aesthetic, customization can take them to the next level. Here are some ideas:
– Add Color: Use fabric dye to tint sections of the rope before starting your project for a colorful effect. Alternatively, paint the finished basket for added vibrancy.
– Use Buttons or Beads: Incorporate decorative elements around the edges for a whimsical flair.
– Incorporate Handles: Add rope handles using a slightly thicker rope for easy transport and added texture.
Why DIY?
Apart from saving money, engaging in DIY projects like creating your own rope baskets brings immense satisfaction and a personal touch to your living spaces. Crafting can be meditative, allowing you to disconnect from daily stresses and tap into your creative side.
Moreover, DIY projects contribute to sustainability by reducing waste and the need for mass-produced goods. By choosing materials like natural fibers, you opt for an eco-friendly option that aligns with green living principles.
Final Thoughts
Crafting your own rope baskets is an excellent way to enhance your bathroom organization while adding a touch of handmade elegance. This project is accessible for all skill levels and can easily be adapted to suit any aesthetic preference. Whether you have a rustic farmhouse bathroom or a sleek, modern design, a handcrafted rope basket can offer durable and charming storage solutions that reflect your personal style.
So, roll up your sleeves, gather your materials, and dive into the rewarding world of crafting. Your bathroom will thank you for it, and you might just discover a new favorite hobby in the process!

